LSWR good Shed: My First 3d Print
This is my first proper success. The first actual print was a pair of rooks from a file included with the printer. I tried to print Preston City Mission, but the supports swamped the model, and it will need to be redesigned with the roof separate. I also printed a "tip-air" hopper body, which was fairly successful, and may be the subject of a later post.
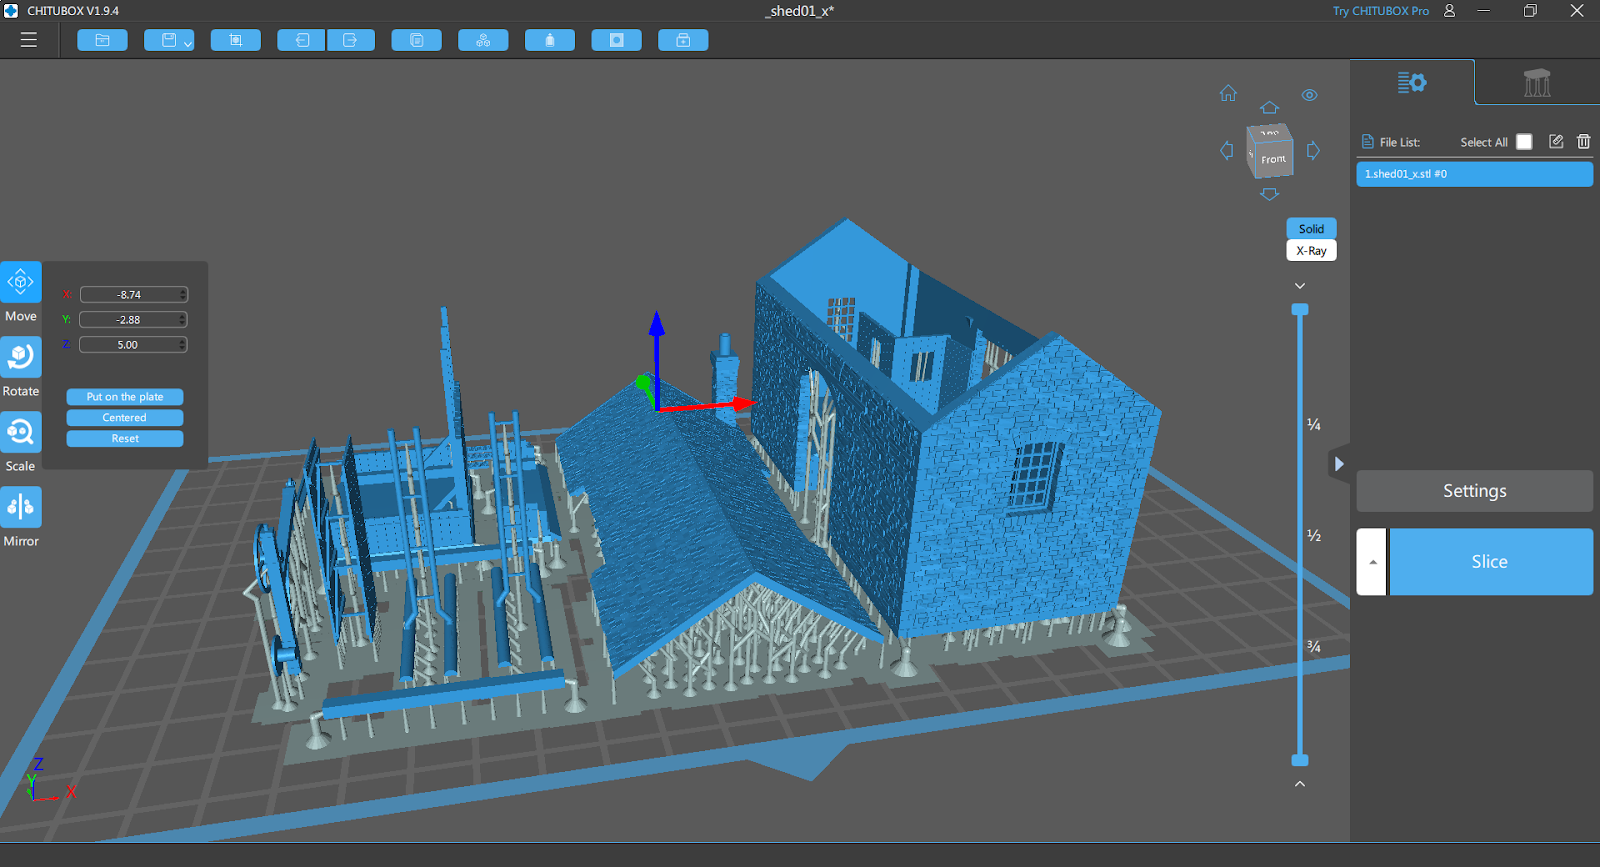
So this is using my new Elegoo Saturn 8K.
This took three attempts, and the issue is supports. The parts are printed 5 mm above the build plate, on lots of little legs, and if the legs are too thin or too few, the part drops off during the print. I found, using ChiTuBox, you need intermediate supports with additional heavy supports at the corners of anything of any size.
This is the second attempt, which did not have good enough supports and the main part fell off.
After printing, the parts are washing in iso-propyl alcohol, then UV cured for about 5 minutes - I have an Elegoo curing station to do that.
Then the supports are removed. For this task I use Citadel plastic snips, which I very much recommend. The blade is designed to allow you to cut right at the part, and no filing is generally required. A long blade knife is also useful. It is also a good idea to have a reasonable gap between parts so they come off the buildplate separate and can be dealt with one by one.
This is what it looks like so far.

I glued the beams in place and the sliding door rail, and then primed them with Citadel white primer.

I painted the parts separately.

And put it all together. All the interior detail is now hidden away, but you can see the slates well.


Comments
Post a Comment